Solar Panel Installation: How To Install Solar panels for home & Offices
Solar Panel Installation:
The need for sustainable energy sources is increasing day by day & the world is shifting towards more renewable energy resources. Going Solar is a smart way to generate clean & non-toxic energy. Solar panels are helping reduce the Carbon Footprint. As the Solar Panel System is an alternate source of energy & helps us be independent of the grid stations, their proper installation is important. Let’s explore some key points about the installation of Solar Panels.
Table of Content
- Things to determine Before Installing System
- Checklist of the Components
- Solar Panel system Installation
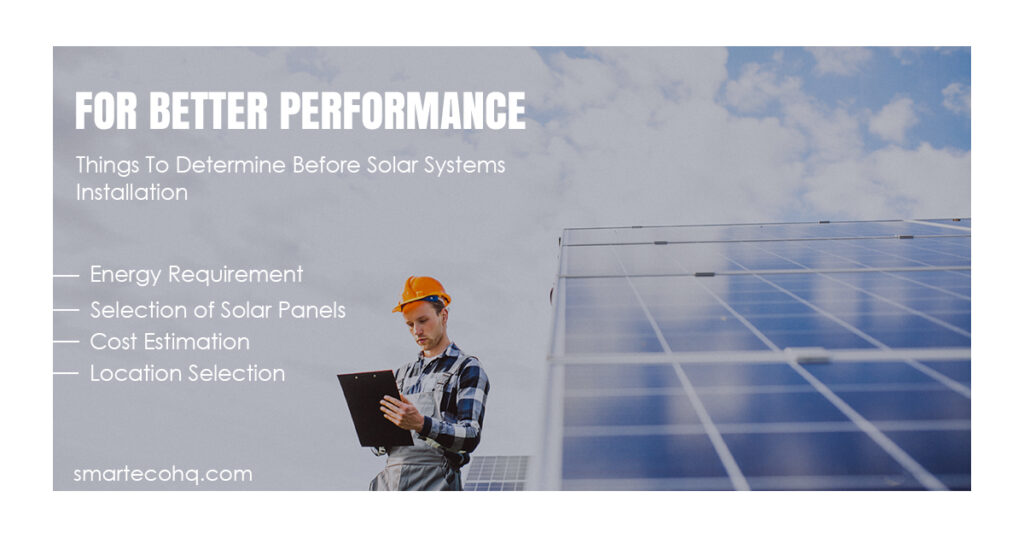
Things To Determine Before Solar System Installation:
There are several things you should determine before installing the solar system.
Energy Requirements
Before installing a system, you must know “what your energy requirement is.” You can check your energy consumption from your electricity bills, or you can consult an energy expert. This will help you select the right size of Solar system you should install .
Energy Efficient
Select the best-quality, Durable Solar Panels with good Energy Efficiency & Size. Wisely choose a reputable brand that has a proven track record in the industry.
Cost Estimation
Before the installation of the solar system, an estimation of the cost must be taken into consideration. This can be done by consulting a specialist. It will include the cost of panels, batteries & the whole system.
Location Selection
Selecting the perfect location for System Installation is a crucial decision. Select the location that will be Exposed to the sun directly and where maximum sunlight will be able to reach it.
Make a Check list of the Components:
Before Installation of the system, one should make a checklist of the components to avoid any mishaps at the time of installation. Here is a checklist of components needed for a solar panel system installation:
Solar Panels
The main component that produces electricity by absorbing Sunlight.
Charge Controller
Controls the battery’s charging. It prevents batteries from overcharging & undercharging.
Inverter
The inverter converts the DC power produced by the solar panels into usable AC power that can be used in your home or business.
Solar Panel Racks
Durable rack equipment can secure the solar panels to the rooftop or ground.
Electrical Wiring
Wiring connects the solar panels, inverter, and other components together.
Battery Storage
A battery storage system stores excess solar energy for later use.
Monitoring System
A monitoring system is used to track the energy production of the solar panel system.
AC/DC Disconnects
AC/DC disconnect devices are used to disconnect the solar panel system from the electrical grid or home during maintenance or emergencies.
Permits and Inspections
Obtain any necessary permits and inspections required by your local government and utility company, if required.
This checklist will ensure that you have all the necessary components for a successful solar panel system installation.(Always buy material that is compatible, high quality, long-lasting, and safe to use.)
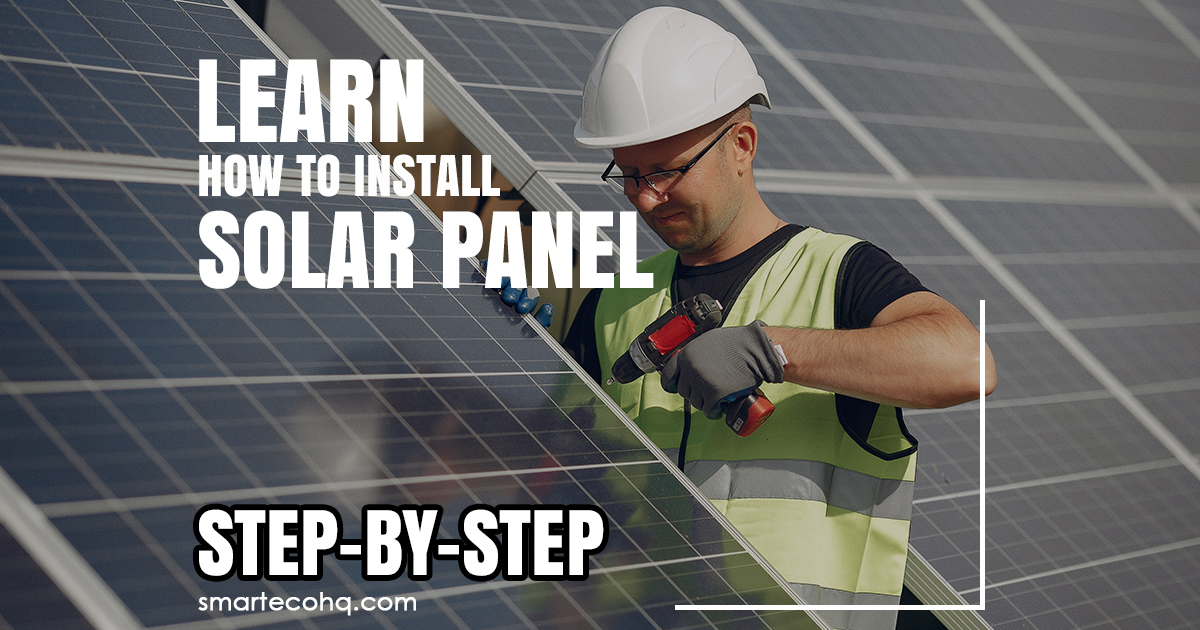
Solar Panel system Installation
After completing all your basic & essential Solar System components, the next step is installation. You can Install the solar system with the help of an expert in your home, but for a bigger system installation, an expert team should be hired. Here is the guide: How to Install a Solar System step by step:
Design System
It is the diagram our map of the system that is the key to system success. The bigger the system becomes there is more need for system design.
Installation
Install the following in a sequence:
- Mounting system
- Solar panels
- Charge controller
- Inverter
- Monitoring Equipment
- Try to follow the manufacturer’s guidelines for installation.
Writing Connection
The next step after installation is connecting the whole system. Connect the whole system through wiring & use good-quality, durable wires for the connection.
Test & Active the system
When the installation process is done, test the system to see if it is generating power correctly & then activate it by turning on the inverter & connecting it to power your home & business.
After the installation process, schedule an expert to visit and monitor the system to check whether it is working efficiently. Also work on its maintenance, such as cleaning the panels, Checking for damage, trimming or cutting the trees shading, changing battery cells & Monitoring energy production.