
Learning nest Thermostat Installation Guide
Master the art of installing your Learning Nest thermostat with our comprehensive installation guide. Take control of your energy savings today! Click here.
Table of Content
- What is nest thermostat?
- What are the types of the nest thermostat?
- What are the benefits?
- How to install thermostat?
What are Nest thermostats?
Nest thermostats are a type of smart thermostat that helps you save energy and adjust the temperature in your house. Nest Labs, a business that specializes in smart home goods, designed these thermostats. These thermostats have a number of characteristics that set them apart from PM-standard thermostats.
For example,they can understand your routine and preferences and change the temperature accordingly. They may also be operated remotely using a smartphone app, allowing you to adjust the temperature from anywhere.
What are the types of Nest thermostats?
There are several types of Nest thermostats available on the market details are below:
Nest Learning Thermostat:
This is the most advanced model of the Nest thermostat, and it adapts to your schedule and preferences using a learning algorithm. That is, the thermostat will learn your routine and adjust the temperature as needed over time.
For example, if you usually turn up the heat when you get home from work around 6 p.m., the Nest Learning Thermostat will begin automatically. The device also has energy-saving capabilities, such as the ability to turn itself off when you leave the house and track your energy usage so you can make changes to save money.
Nest Thermostat E:
While less expensive than the Nest Learning Thermostat, it still includes energy-saving features. The style is simpler, a glass display with a white body and it doesn’t offer as many customization options as the Learning Thermostat. However, it can learn your schedule and adjust the temperature accordingly, and it can be controlled through the Nest app.
Nest Temperature Sensor:
This is an add-on that works with any Nest thermostat to monitor the temperature in specific rooms of your home. This is especially useful if there are rooms in the house that are consistently colder or hotter than the rest of the house. The Temperature Sensor can communicate with the Nest thermostat to adjust the temperature in that specific room, making your entire home more comfortable.
What are the benefits?
There are various advantages to utilizing Nest thermostats, regardless of model. Here are some of the main advantages:
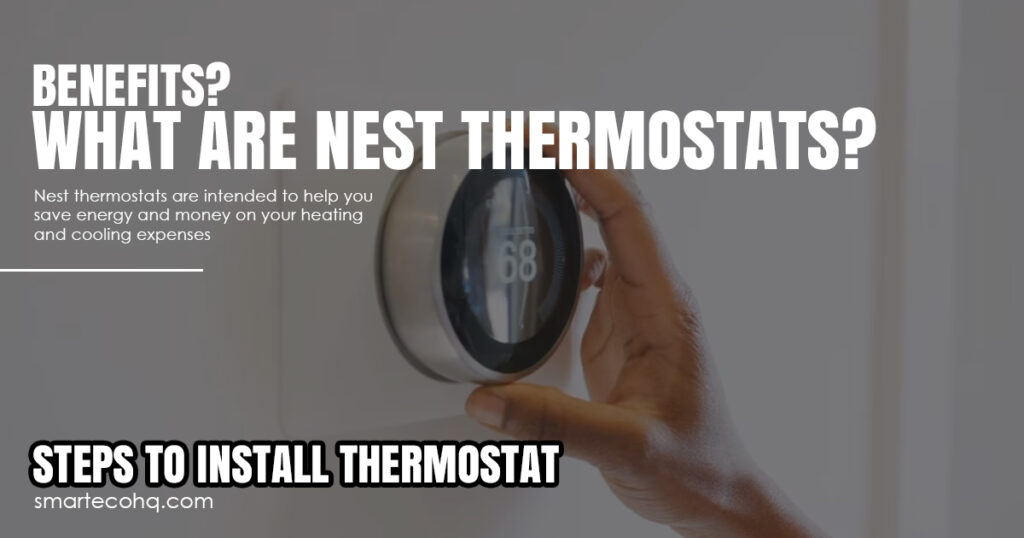
Energy savings:
Nest thermostats are intended to help you save energy and money on your heating and cooling expenses. They can learn your routine and adjust the temperature accordingly, turn off when you leave the house, and provide information about your energy usage so you can make changes to save money.
Convenience:
Nest thermostats are controlled by the Nest app, which allows you to change the temperature from your smartphone or tablet. You can also track your energy consumption and schedule temperature changes.
Comfort:
Because Nest thermostats can learn your routine and change the temperature accordingly, they can help keep your house at a pleasant temperature without requiring you to continuously regulate the thermostat.
Compatibility:
Nest thermostats are compatible with a variety of HVAC systems, including forced air, heat pumps, radiant and others. They can also be linked to other smart home devices like Amazon Alexa and Google Assistant.
Accessories:
The Nest Temperature Sensor attachment can be used to monitor the temperature in individual rooms of your house, allowing for more exact control of your heating and cooling systems.
How do you install Nest thermostats?
The procedure is as follows:
Before you begin, make sure you have all of the necessary tools and equipment for the installation process. Here is a list of what you’ll need:
- The Nest Thermostat
- Screwdriver
- Drill press
- Voltage gauge
- Stripper for wires
- Screws and anchors for the wall
- Level Pencil
- Wireless network and password
Before beginning the installation process, turn off the power to your HVAC system.
Step 1: Remove the Old Thermostat
The first step in installing a Nest thermostat is to unplug your old one. Start by turning off the power supply to your HVAC system. Then, unscrew your old thermostat from the wall by removing the cover. Remove any wires connected to the thermostat with care and label them so you know where each one goes.
Step 2: Attach the Nest Base Plate
You can install the Nest base plate after you’ve removed your old thermostat. Begin by ensuring that the base plate is level. Mark the screw holes and drill holes for the wall anchors with a pencil. After installing the wall anchors, screw the base plate to the wall.
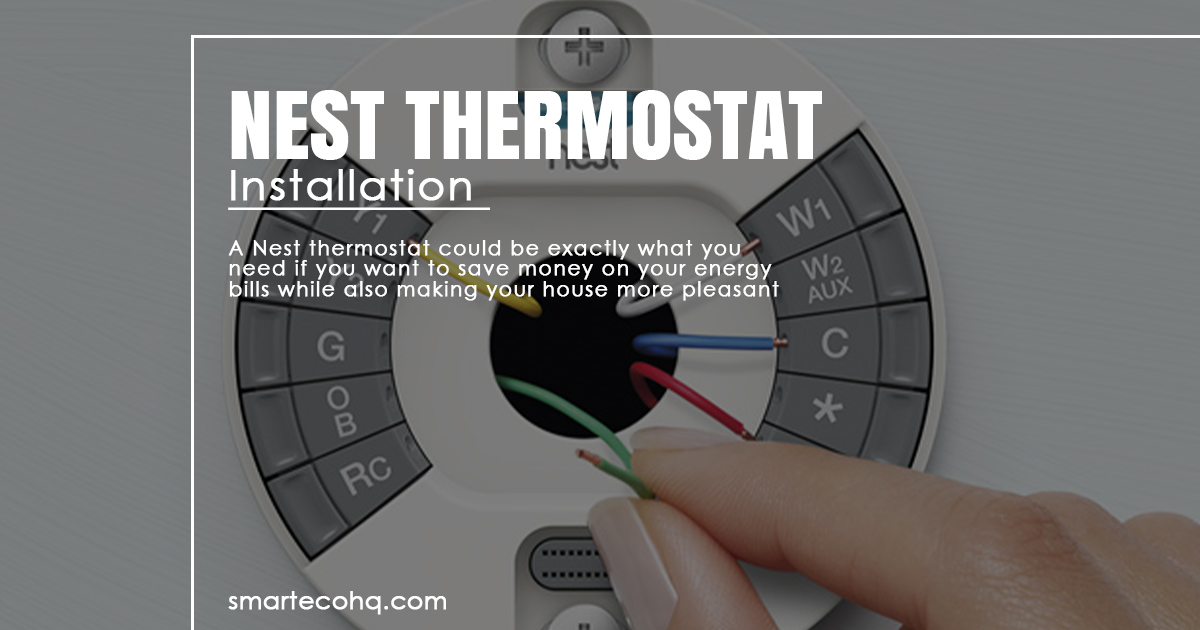
Step 3: Join the Wires to the Nest Base Plate
It’s time to connect the cables to the Nest base plate after you’ve installed it. Begin by removing the wire ends and inserting each wire into the corresponding connector on the base plate. To verify that the wires are properly connected, tighten the screws on each connector.
Step 4: Attach Nest Thermostat
Once the wires are connected to the Nest base plate, attach the Nest thermostat to the base plate. Begin by aligning the Nest thermostat’s pins with the base plate’s connectors. Then, press the Nest thermostat firmly against the base plate until it clicks into place.
Step 5: Turn on Power Supply
After connecting the Nest thermostat, power up your HVAC system. Turn on the power and wait for the Nest thermostat to begin working. Connect your Nest thermostat to your Wi-Fi network and configure your preferences using the on-screen instructions.
Step 6: Test Your Nest Thermostat
It’s time to put your Nest thermostat to the test after connecting it to your Wi-Fi network and configuring your preferences. Turn on your HVAC system and adjust the thermostat on your Nest. If your Nest thermostat responds to it, your installation was successful.
Overall, Installing a Nest thermostat may appear to be a difficult operation, but it is rather simple if you follow the procedures indicated in this article. You can save energy and money while enjoying the pleasure of a well-regulated home temperature by installing a Nest thermostat.
FAQs
Q: What is the Learning Nest thermostat?
A: The Learning Nest thermostat is a smart device that helps you control your home’s temperature and save energy.
Q: Why should I install a Learning Nest thermostat?
A: Installing a Learning Nest thermostat allows you to optimize your home’s energy usage, reduce utility bills, and enjoy personalized comfort.
Q: Is it difficult to install a Learning Nest thermostat?
A: Installing a Learning Nest thermostat is designed to be user-friendly and straightforward. Just follow the provided installation guide for step-by-step instructions.